If you are looking to add a heavy dose of 1970s nostalgia to your next project, the Groovy Melt Font is a fantastic choice for retro display typography. This typeface brings ultra-plump, volumetric script letterforms that literally look like they are melting into a liquid baseline. It is perfect for crafters making custom stickers, print-on-demand sellers designing funky apparel, and small business owners who need vintage festival poster aesthetics. The built-in bubblegum pink and retro orange colors, complete with liquid highlights and deep chocolate brown drop shadows, mean you spend less time styling and more time creating.
How does the melting effect work in everyday projects?
Many designers spend hours trying to create a realistic liquid drip or 3D shadow effect in their software. With this specific typeface, those complex effects are already built directly into the character paths. The ultra-plump letterforms naturally dissolve along a wonderfully melting baseline. When you type out a word, the deep, multi-layered chocolate brown drop shadows and liquid highlights automatically give it that authentic mid-century lifestyle branding look. You just need to type your phrase, adjust the tracking, and scale it to your canvas. This saves a massive amount of time when you are working on tight deadlines for client work or seasonal shop updates.
What kinds of products sell best with this style?
When you are selling physical or digital goods, the visual appeal of your graphics directly impacts your sales. This specific style works incredibly well for a few key niches where bold, expressive typography is expected. Custom die-cut stickers benefit greatly from the thick outlines and vibrant colors, making them pop on water bottles and laptops. Funky apparel like T-shirts and hoodies with psychedelic design elements are always popular at summer music festivals and vintage markets. If you are promoting a local band or a retro-themed event, this typography gives your flyer an established, legendary retro-pop cool. If you need to mix up your shop offerings, you can easily pair it with a cleaner sans-serif for the body text, or try combining it with other display options like the varsity narrow layout for a sporty retro vibe, or the bloomsy lettering if you want to add some floral elements to your seasonal crafts.
Can I change the default pink and orange colors?
Yes, absolutely. While the default palette of bubblegum pink and retro orange is striking, you are not locked into those exact shades. Because the liquid highlights and drop shadows are part of the layered text effects, you can easily recolor them in your design software to match your specific brand guidelines. If you are working on a magazine style layout that requires a more muted, earthy 70s tone, simply swap the bright pinks for mustard yellows and burnt siennas. It also pairs beautifully with softer alternatives like the summer flower typography when you want a gentler, more botanical feel for your seasonal crafts and greeting cards.
How do I keep the text readable on busy backgrounds?
Because the letterforms are so thick and the drop shadows are so deep, readability can become an issue if you place the text directly over a busy, highly detailed photograph. To keep your message clear and professional, use the font for short phrases or single words, rather than long paragraphs. Place a solid color block or a subtle gradient behind the text to separate it from the background image. If you need a secondary headline that is a bit lighter and easier to read from a distance, the harlow chunky style offers a similar bold presence but with a cleaner, more uniform weight that might read easier on complex backgrounds.
What should I check before printing my retro designs?
Before you send your files to the printer or upload them to your print-on-demand platform, run through this quick checklist to ensure your graphics look their best:
- Keep it short: Use this typography for headlines, logos, or short sticker phrases to maintain maximum visual impact without cluttering the design.
- Check your contrast: Ensure the deep drop shadows stand out clearly against your chosen background color or image so the text doesn't blend in.
- Test the scale: Print a physical proof of your sticker or apparel design to make sure the melting baseline details and liquid highlights don't get lost in production.
- Pair carefully: Balance the heavy, melty script with a simple, clean font for your secondary text, pricing, and product descriptions.
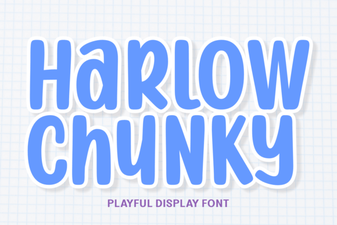 Harlow Chunky Font for Bold Logos and Creative Designs
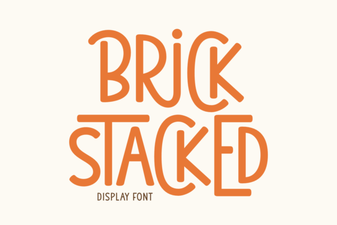 Bold Design Ideas Using the Brick Stacked Font
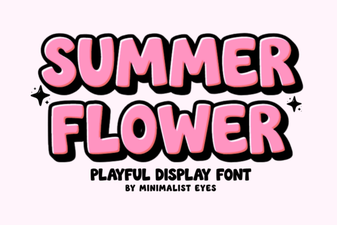 Creative Design Ideas with Summer Flower Font
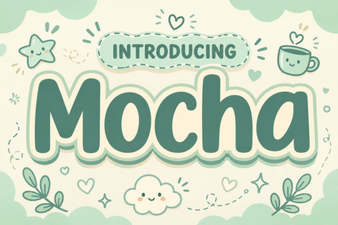 Motcha Font: Creative Typography for Modern Design
 Hello Angela Font: Elegant Typography for Modern Design
 Bloomsy Font: Elegant Typography for Creative Projects